
Ok, so this giant studio model size kit is finished but i figured i would share the work in progress with pics. I hunted for this kit for a long time and finally fellow Star Wars fan and master builder Jason Eaton http://www.makmodeler.com/ hooked me up. He also scratch built the cannons from brass tubing for me. The build took about a month, working vigorously at night till dawn after a long day of painting my own works.
So since this kit is cast in resin i had an insane amount of clean up of parts and sanding...AAARGH.

Here you see the back half mostly done with LEDs and fiber optic strands routed through the body...Poisonous resin dust was everywhere...cough cough!

I had to make a couple of repairs to the nose and rescribe some panel lines. Drilling and routing was done with my trusty pin-vise and dremel to house the fiber optics. I decided to run only blue and white lighting to the cockpit instrument panels...The engine light will be red like in Star Wars A New Hope.

Cleaned up and sanded smooth the window openings then I scratchbuilt a little drop down targeting system to the roof of the canopy like in the movie.Made this out of styrene.

Y-Wing Pilot all painted up and treated with Testors Dullcote Laquer through an airbrush.
I made him a headset mic and some controller sticks. all out of brass tube.

Getting fully built up...Glued up with epoxy and other CA glues. Then primered in dark grey enamel.
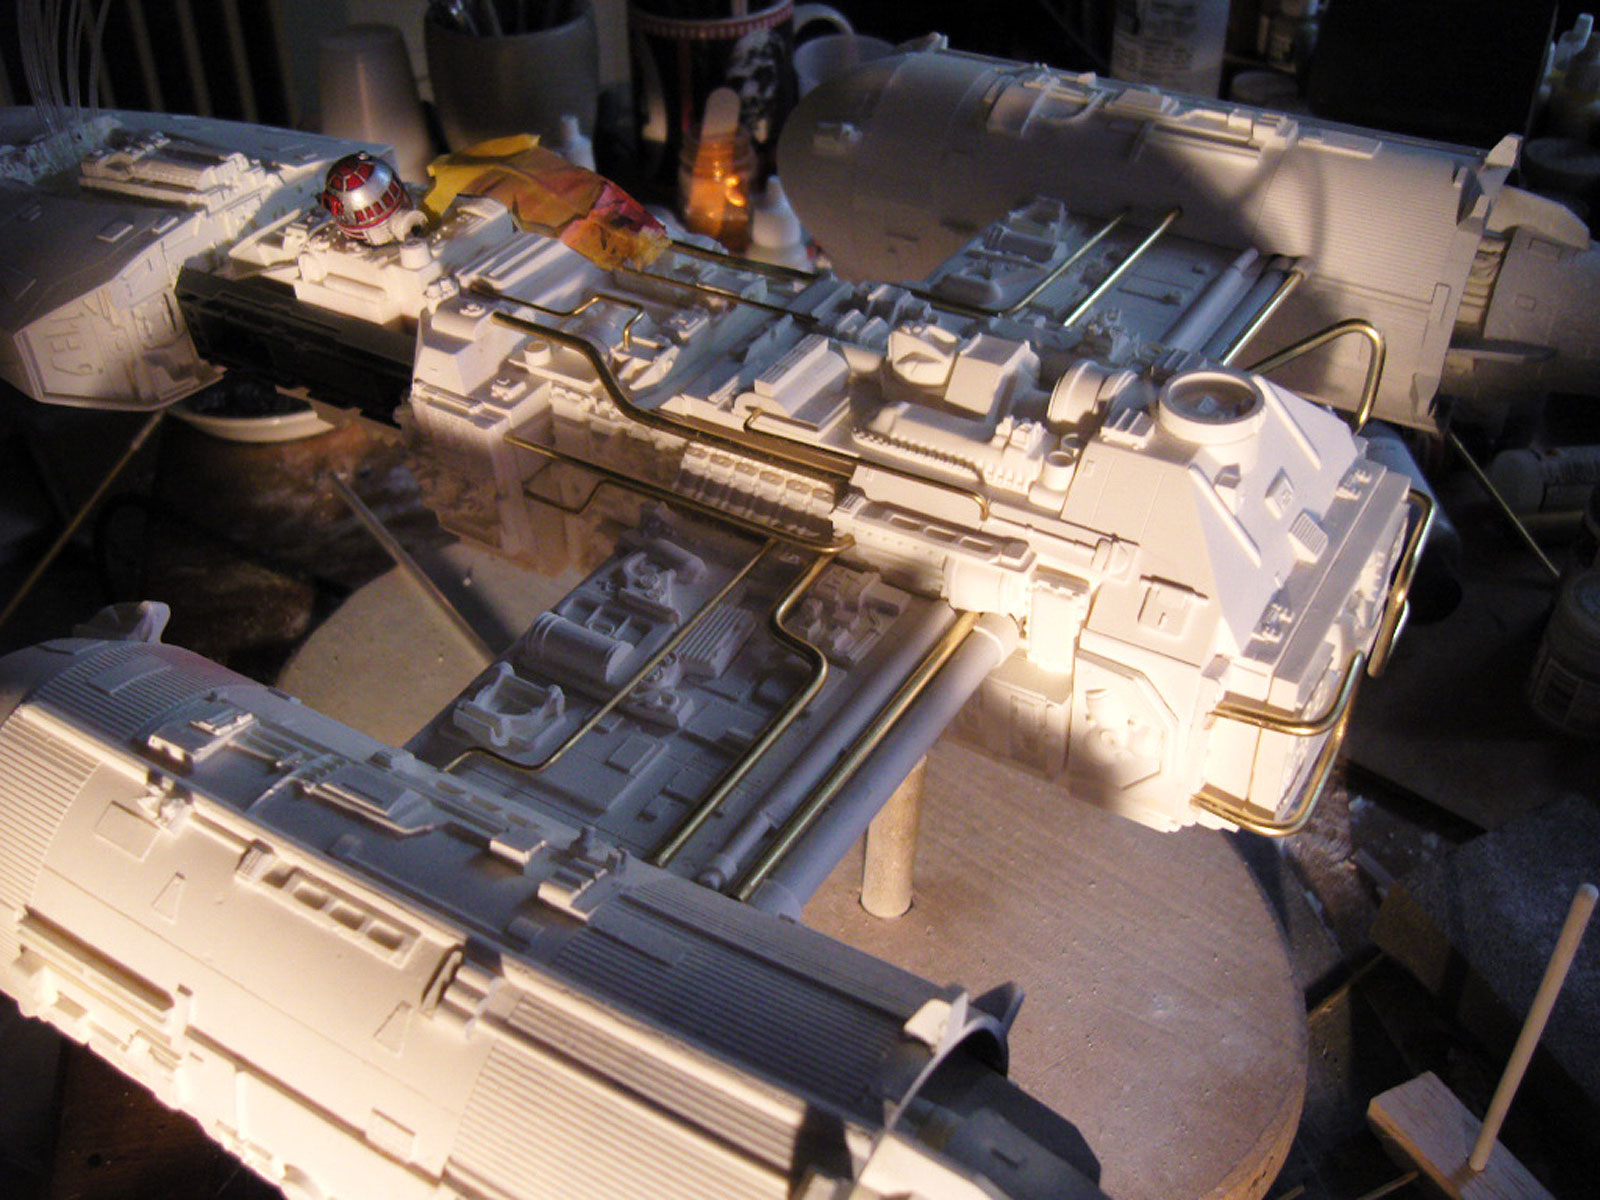
The tricky part...bending 1.5, 2 and 3mm brass rod and getting them in place. Thanks Mr. Eaton for the tips.


Canopy painted and weathered. Paint was a Vallejo Paint mix of blues and greys along with the base coat of a mix of Deck Tan and White Vallejo Acrylics through airbrush. Weathering was done with pastels in brown and black.


Fronts masked and painted in Ochre and chips made by masking it in liquid-mask.
The engines got the same treatment. By this point masking is soo annoying. But i struggle to take my time and do it right. Patience is something is struggle with everyday.


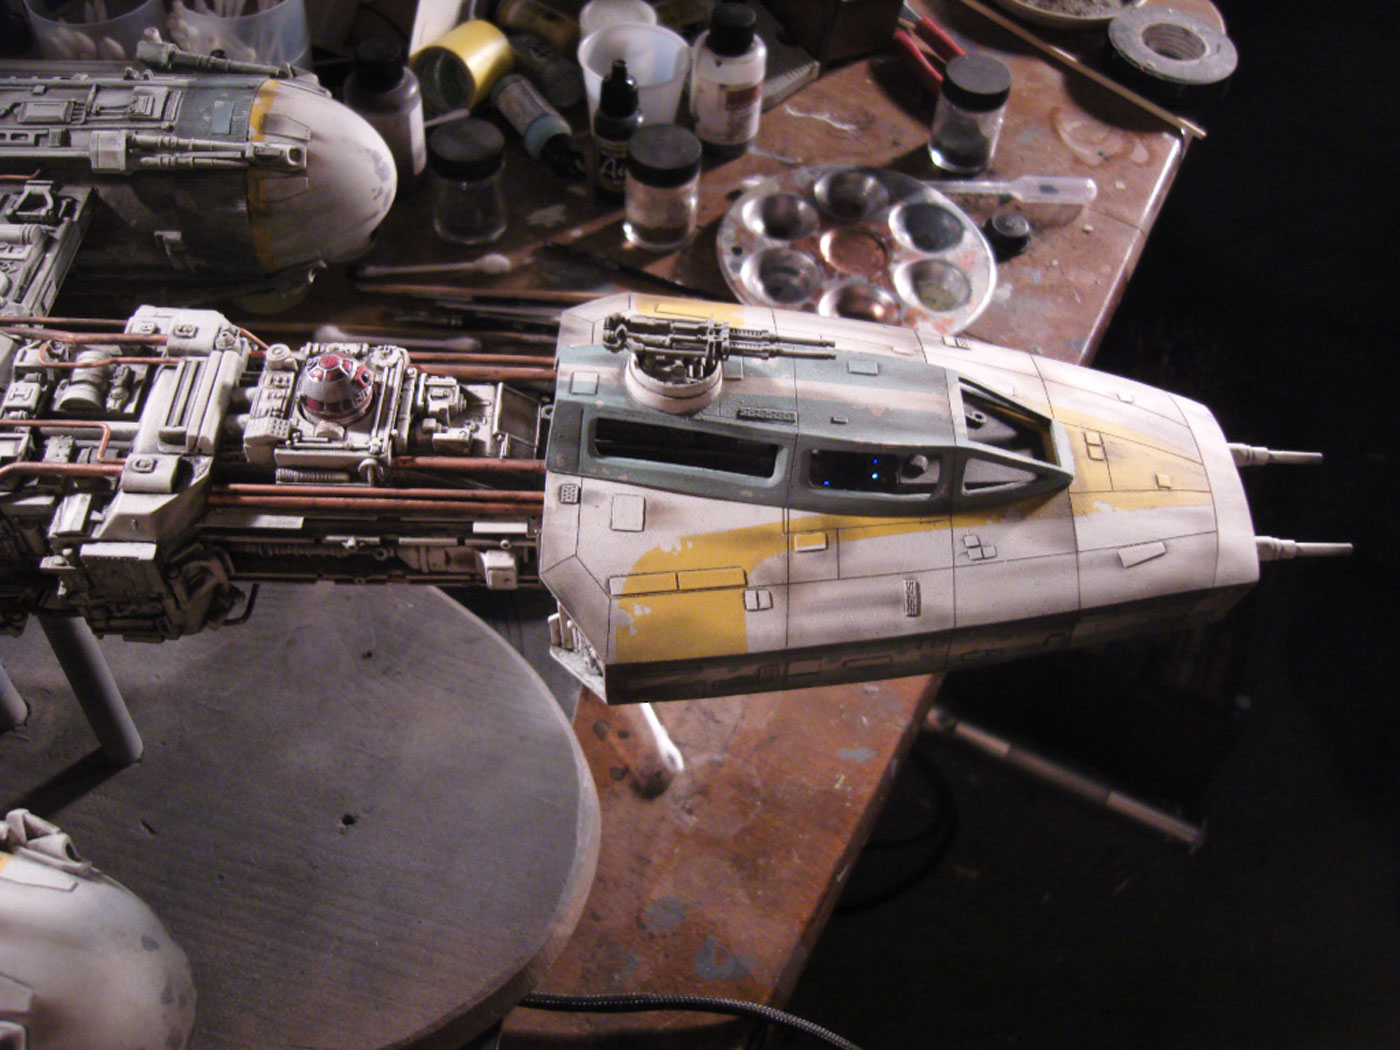

Finally the enamel copper metallic paint is carefully applied to every brass rod (the plumbing).
Then weathering with pastels and a q-tip is applied to all the plumbing and a dullcote applied.
And finally...DONE!!!! Fuck yehh man!


I posted ALOT of pic cuz thats how i like it...less reading and more PICS!
The final build i think is 27 inches. I love you Gold Squadron Y-Wing.

im jealous
ReplyDeletehi,
ReplyDeletedo you still have the pictures / links for how you did the tubing?
i find it for the red jammer, but for this ship i don't..
also pictures i find are not from all sides..
can you help me?
i'm building papercraft ywings.
http://zealot.com/threads/building-my-own-y-wing-s.173462/page-11
thank you
Roland